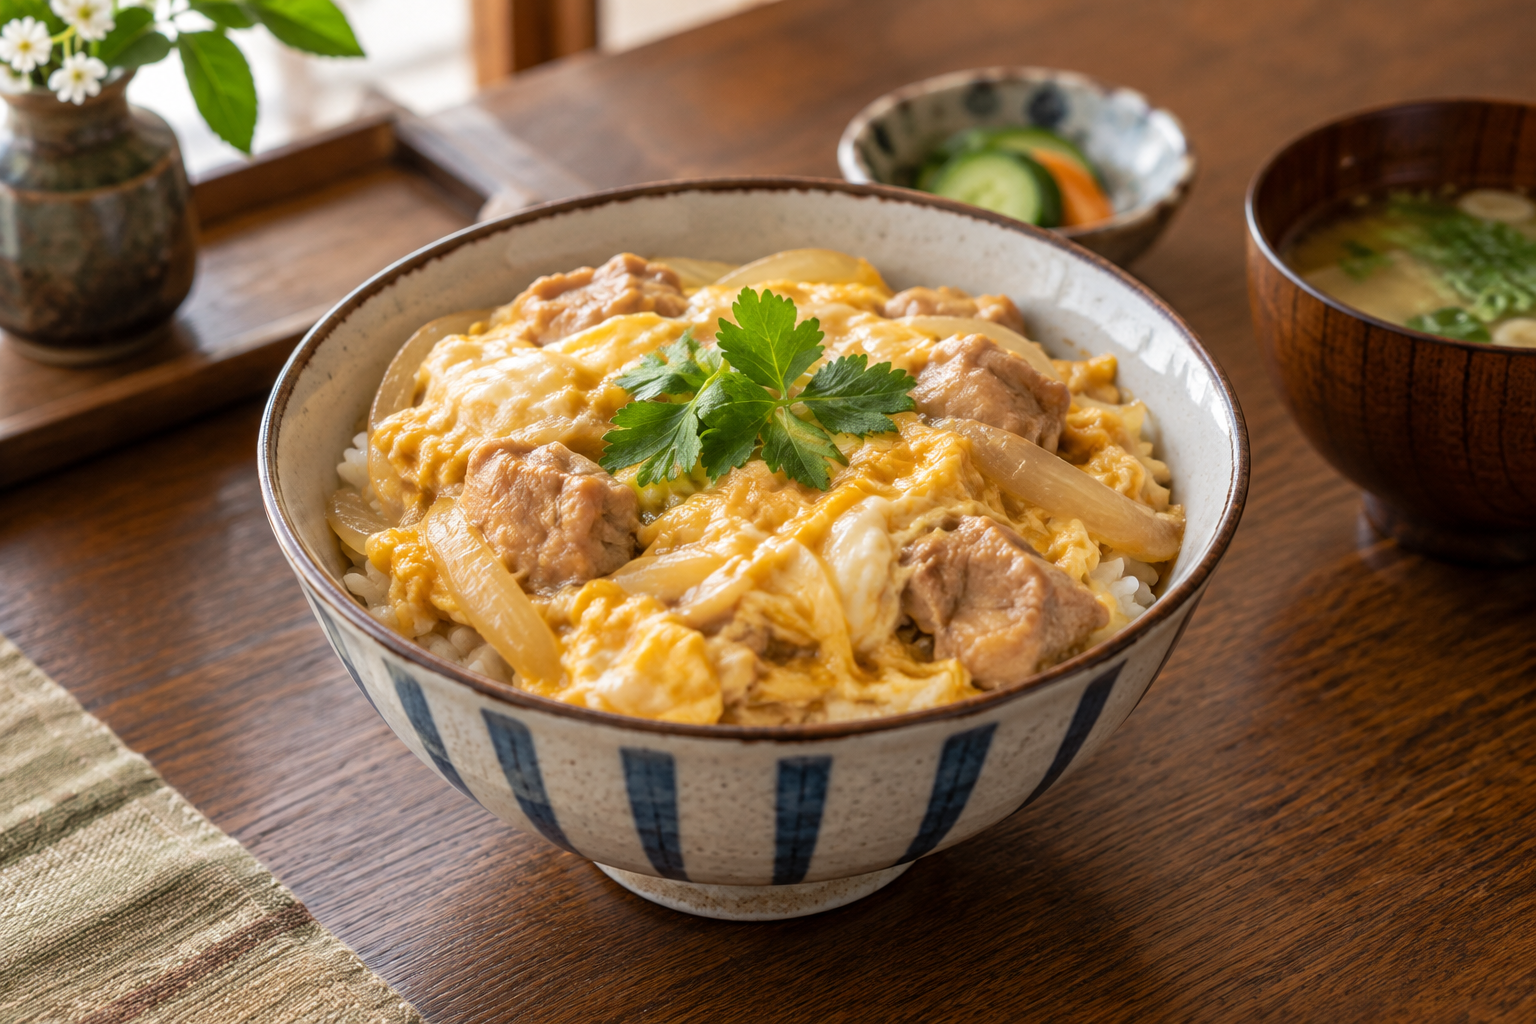
Easy Oyakodon Recipe: Japanese Chicken and Egg Rice Bowl
This easy oyakodon recipe is a comforting Japanese rice bowl made with tender chicken, onion, and softly cooked egg in a lightly sweetened dashi sauce. Its name means “parent and child bowl,” referring to the chicken and egg served together.
This beginner-friendly version takes about 25 minutes and uses ingredients that are easy to substitute outside Japan.
Recipe at a Glance
- Servings: 2
- Prep time: 10 minutes
- Cook time: 15 minutes
- Total time: 25 minutes
- Difficulty: Easy
Ingredients
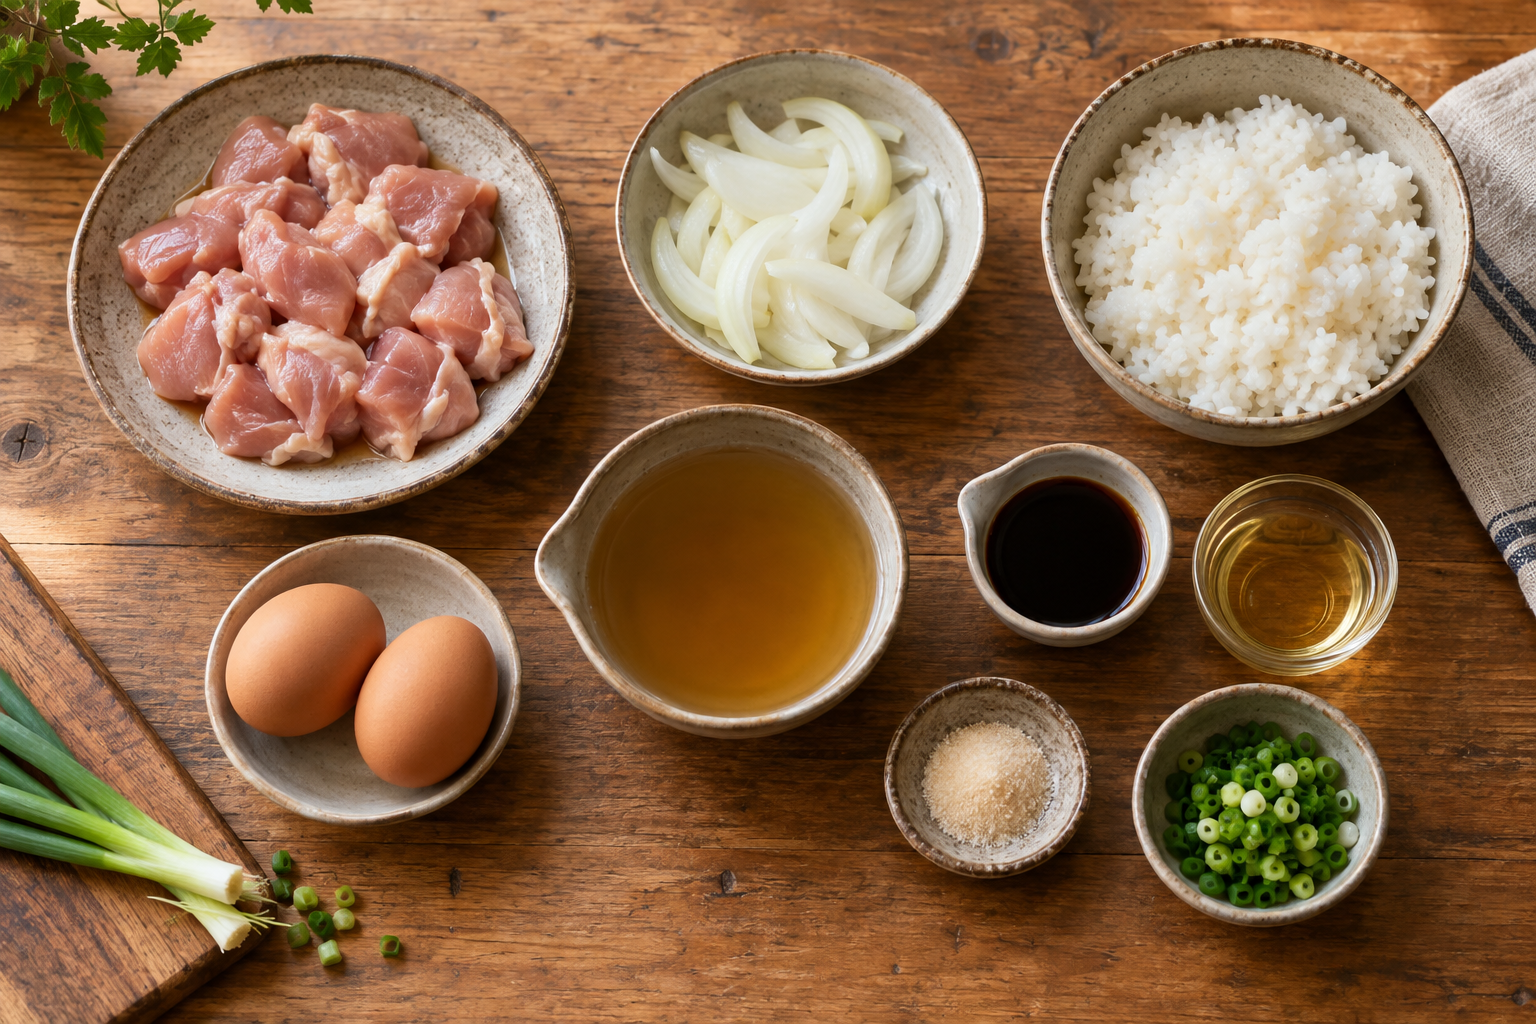
- 300 g (10.5 oz) cooked Japanese short-grain rice
- 200 g (7 oz) boneless chicken thigh, cut into bite-size pieces
- 1/2 medium onion, thinly sliced
- 3 large eggs, lightly beaten
- 120 ml (1/2 cup) dashi stock
- 2 tablespoons soy sauce
- 2 tablespoons mirin
- 1 teaspoon sugar
- 1 green onion, thinly sliced
Ingredient Substitutions
- Dashi: Use instant dashi, or substitute low-sodium chicken stock for a milder nontraditional version.
- Mirin: Use 2 tablespoons water plus 1 teaspoon sugar if mirin is unavailable.
- Chicken thigh: Chicken breast works, but cook it gently so it does not dry out.
- Japanese rice: Medium-grain rice is the closest substitute.
How to Make Oyakodon
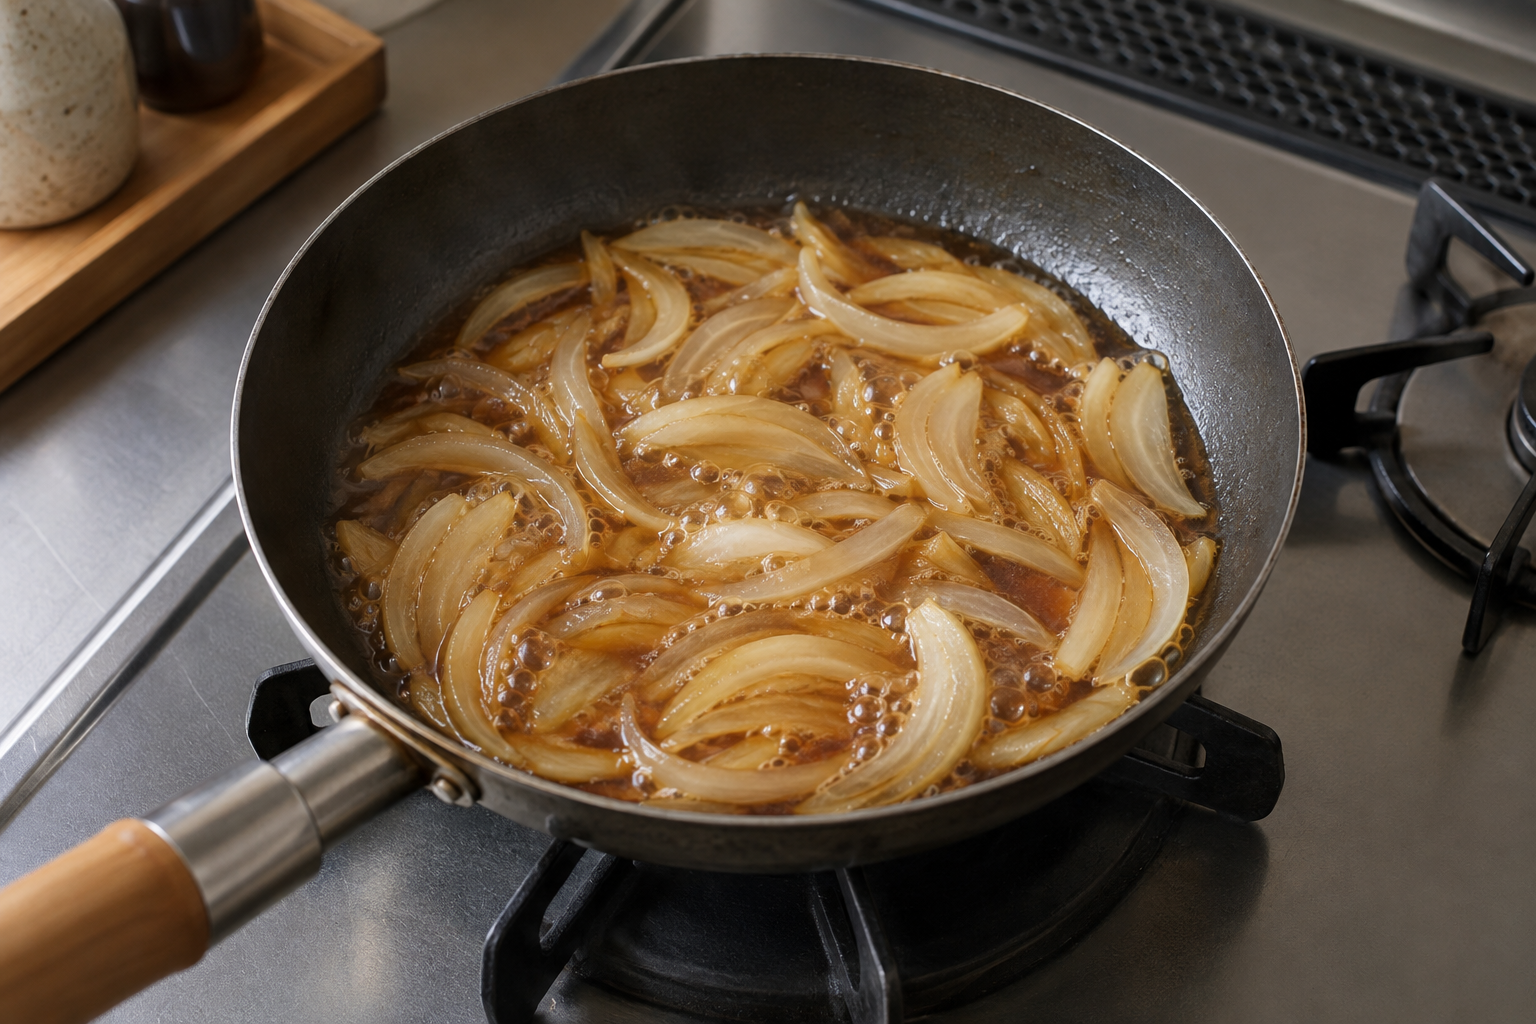
1. Simmer the Onion
Add the dashi, soy sauce, mirin, and sugar to a small frying pan. Bring to a gentle simmer, add the onion, and cook for 3–4 minutes until it begins to soften.
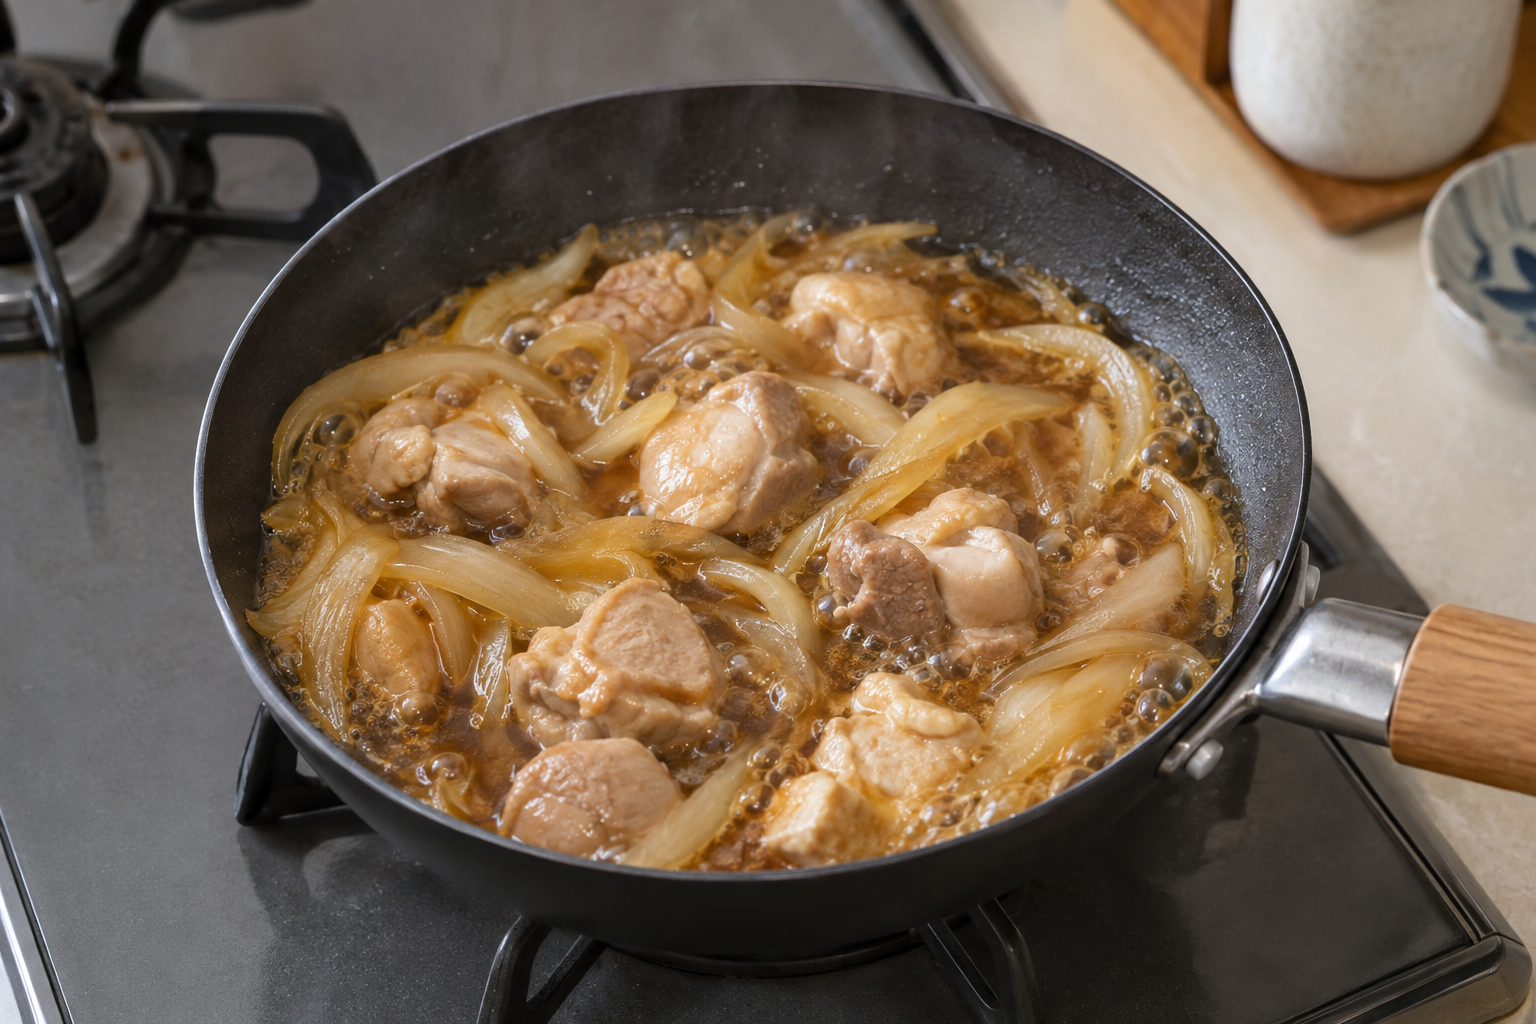
2. Cook the Chicken
Add the chicken in a single layer. Cover and simmer gently for 5–7 minutes, turning once, until the chicken is fully cooked. The thickest piece should reach 74°C (165°F).
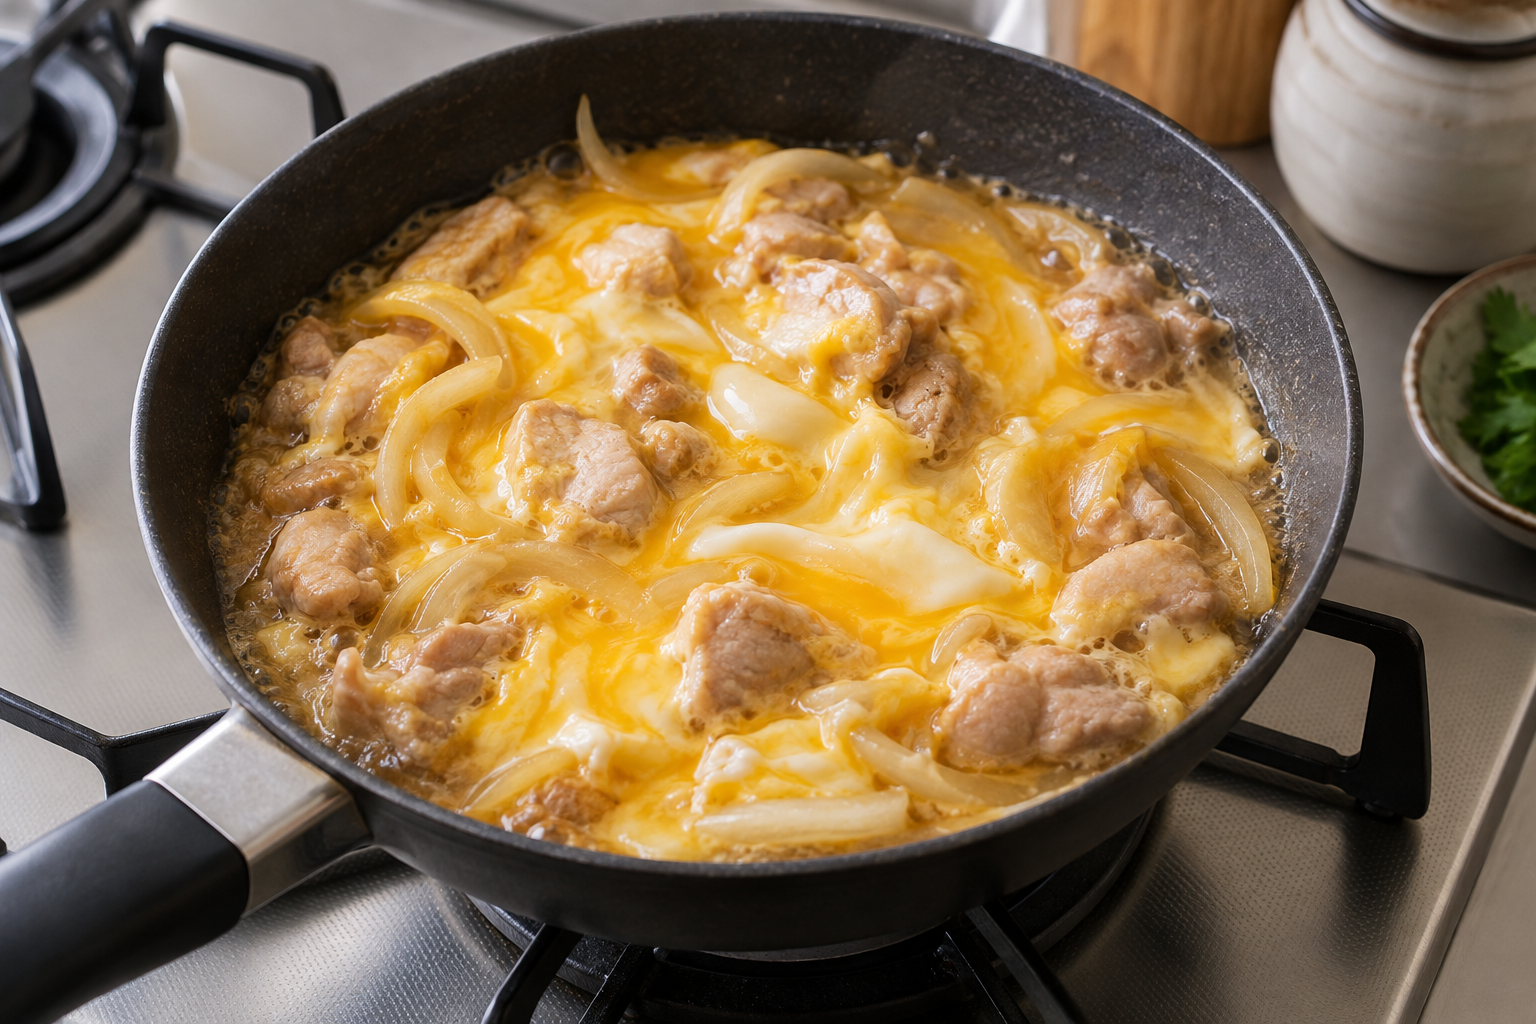
3. Add the Egg
Pour about two-thirds of the beaten egg evenly over the chicken. Cover and cook for about 45 seconds. Add the remaining egg, cover again, and cook for 30–60 seconds, depending on how soft you like it.
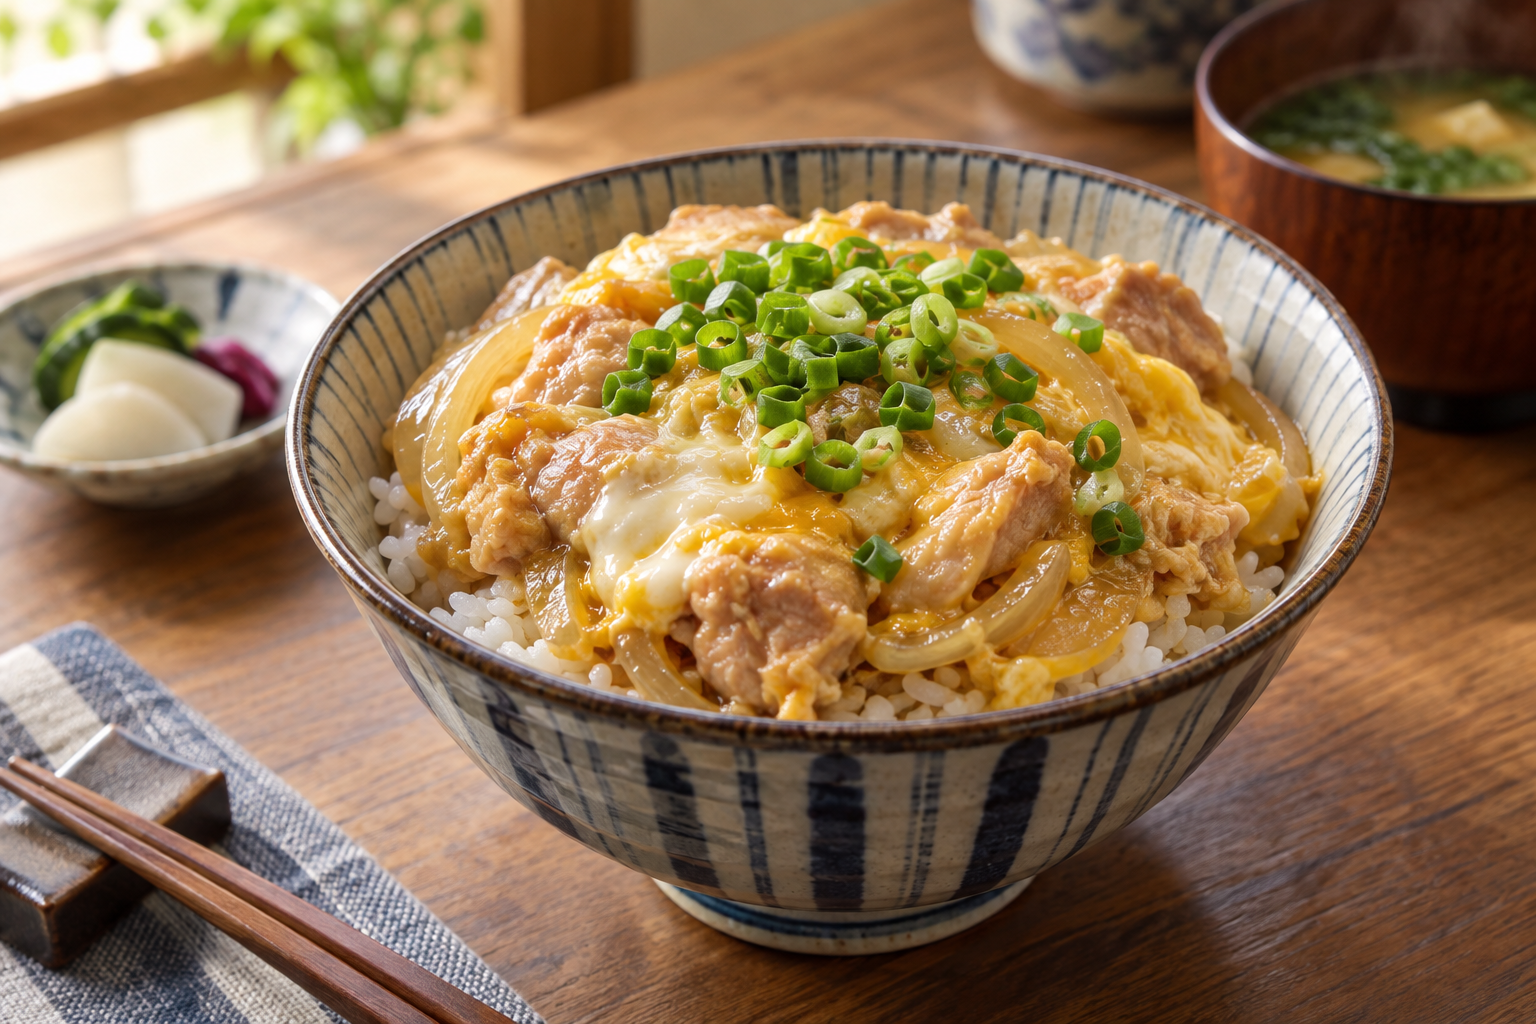
4. Serve Over Rice
Divide the hot rice between two bowls. Slide the chicken-and-egg mixture over the rice, spoon over the remaining sauce, and finish with sliced green onion.
Tips for First-Time Cooks
- Keep the sauce at a gentle simmer so the chicken stays tender.
- Cut the chicken into evenly sized pieces for safe, even cooking.
- Add the egg in two stages to create soft layers.
- Serve immediately; the egg continues cooking from residual heat.
Common Problems
The chicken is dry
The heat was probably too high or the pieces were too small. Use chicken thigh and keep the liquid at a gentle simmer.
The egg became rubbery
Remove the pan from the heat while the egg still looks slightly glossy. It will continue to set in the bowl.
The sauce is too salty
Use low-sodium soy sauce or add 1–2 tablespoons of water or dashi.
Storage and Reheating
Store the cooked topping separately from the rice in an airtight container for up to 2 days in the refrigerator. Reheat until the chicken and egg are steaming hot. Freezing is not recommended because the egg texture changes.
Frequently Asked Questions
Can I make oyakodon without dashi?
Yes. Low-sodium chicken stock is a practical substitute, although the flavor will be less traditionally Japanese.
Is softly cooked egg safe?
Use pasteurized eggs if available, especially for children, older adults, pregnant people, or anyone with a weakened immune system. Otherwise, cook the egg until fully set.
What should I serve with oyakodon?
Miso soup, cucumber salad, or simple Japanese pickles make easy side dishes.
Why This Oyakodon Recipe Works
The sauce uses a straightforward balance of dashi, soy sauce, mirin, and sugar, while the two-stage egg method keeps the topping tender. Preparing every ingredient before heating the pan makes this quick meal easier to control, even on your first attempt.
Explore More Japanese Home Cooking
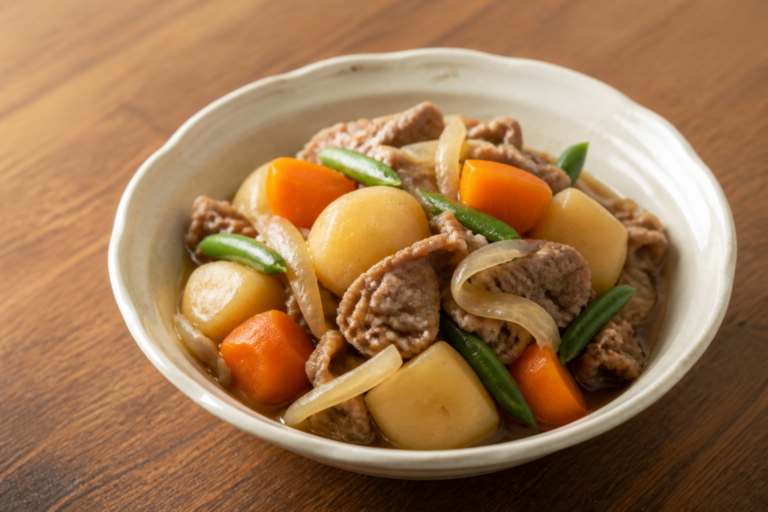
See What Do Japanese People Actually Eat at Home? or try the Easy Japanese Curry Rice Recipe and Easy Nikujaga Recipe.
Build Your Japanese Pantry
Not sure which rice, miso, soy sauce or dashi to buy outside Japan? Start with our practical guide to the 12 most useful staples.